
Waxing Crescent Moon, January 13 2019
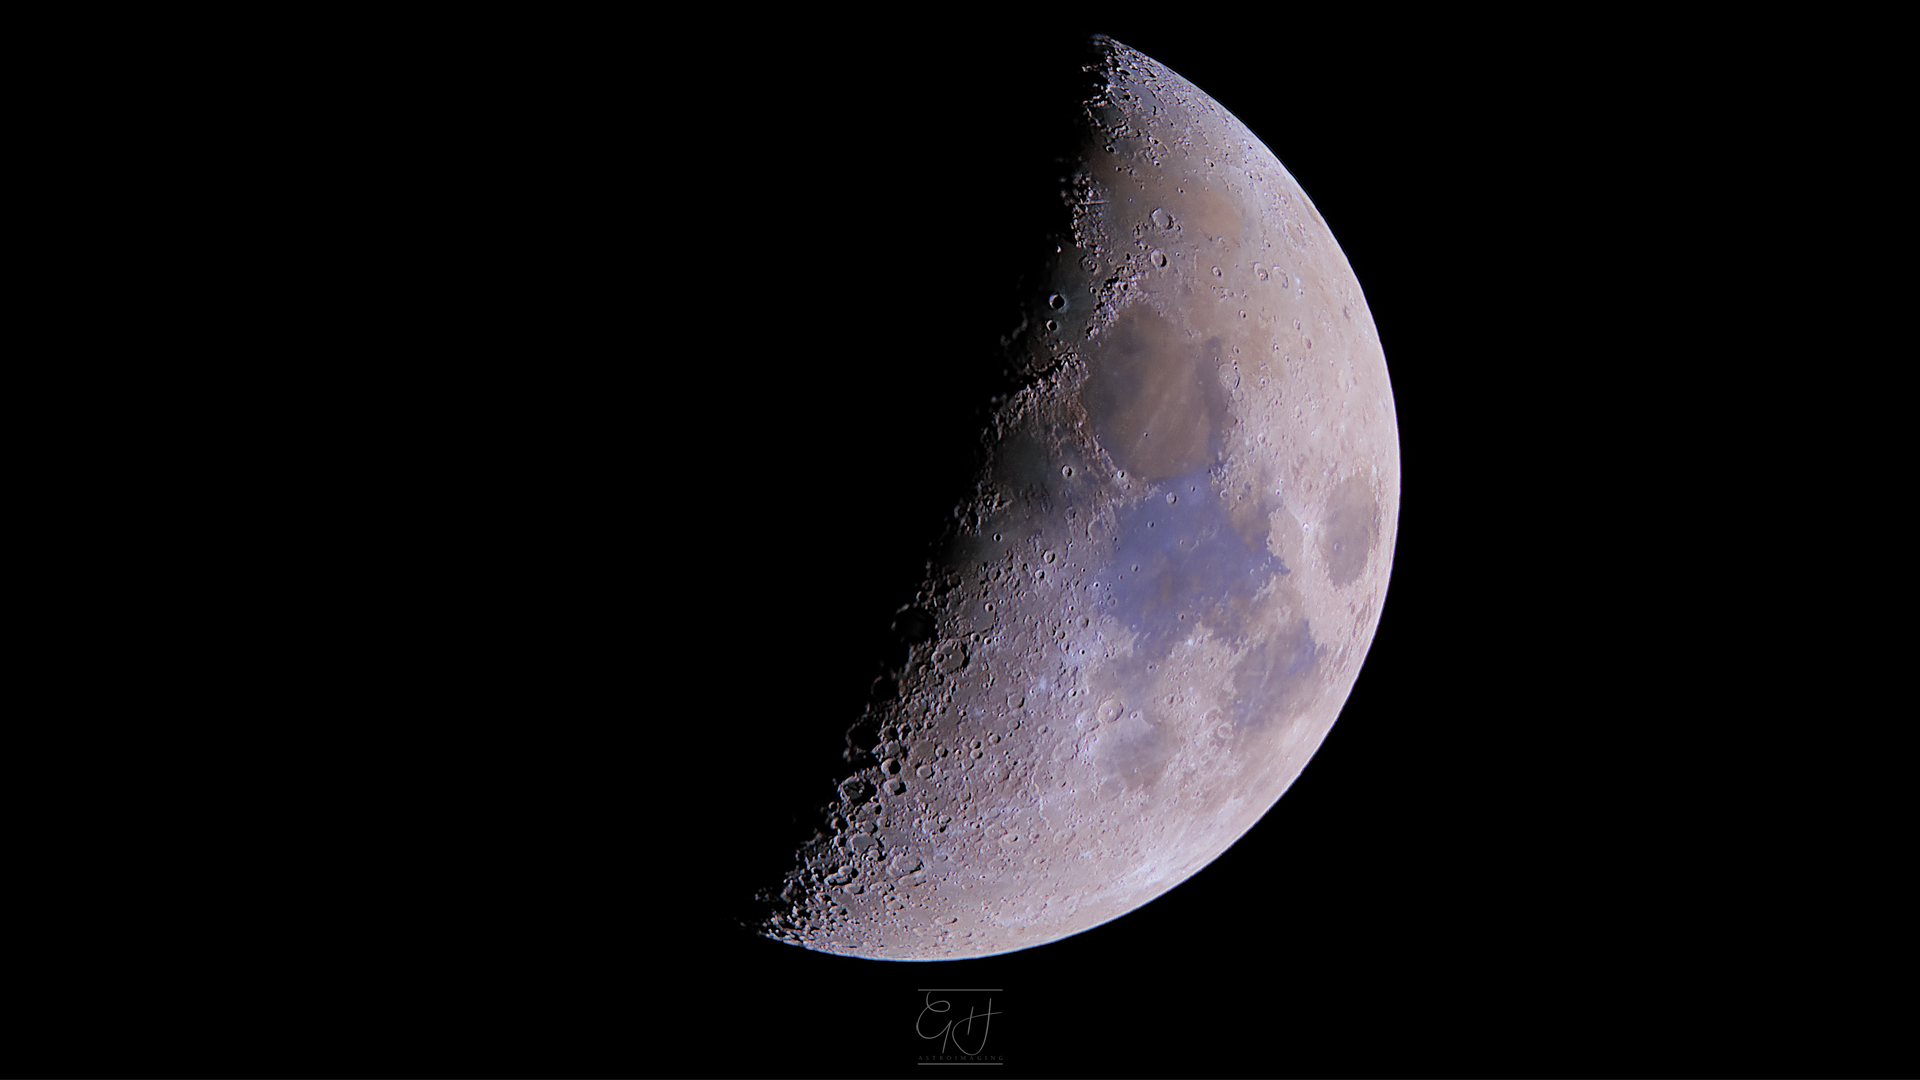

I'm very much aware that not everyone is a fan of seeing moon images with the enhanced mineral colours, but I really like them provided the colouring is kept under control. The part I have difficulty with in processing is avoiding the trap of oversaturating the colour.
One of the pitfalls that's easy to fall in to is saturating the colour in too uniform a way. Just using Photoshop's saturation adjustment can often lead to strange looking effects, especially near the terminator (the line of shadow at the boundary of the illuminated part of the moon's surface). One of the things I have learned is to make a more subtle adjustment by adjusting the colours in the CIELAB colour space, which defines colours in 3 dimensional space.
The first dimension of CIELAB colour space is known as the L axis, which covers a range of values from 0 (representing pure black) to 100 (representing pure white) and describes only the Lightness component of the colour.
The next dimension is the a axis, which describes the balance between red (positive values) and green (negative values) on a scale with no defined minimum or maximum value.
Finally, the b axis describes the blue (negative values) and yellow (positive values) balance, again without any boundary on the values.
For anyone interested, you can learn more about the CIELAB colour space on this Wikipedia page.
Equipment details:
Mount: Celestron Nexstar Evolution
Mount Accessory: Celestron Wedge for Nexstar Mounts
Telescope: Celestron Edge HD8
Camera: Canon EOS 6D
Capture details:
Frames: 128
Exposure per frame: 2ms
Total Exposure Time: 256ms
Camera Control Software: AstroPhotography Tool
Processing details:
Preprocessing software: Planetary Imaging PreProcessor
Stacking Software: Autostakkert
Sharpening Software: Registax
Image Manipulation Software: Adobe Photoshop


Sign in to enable commenting