
Full Moon, September 26 2015
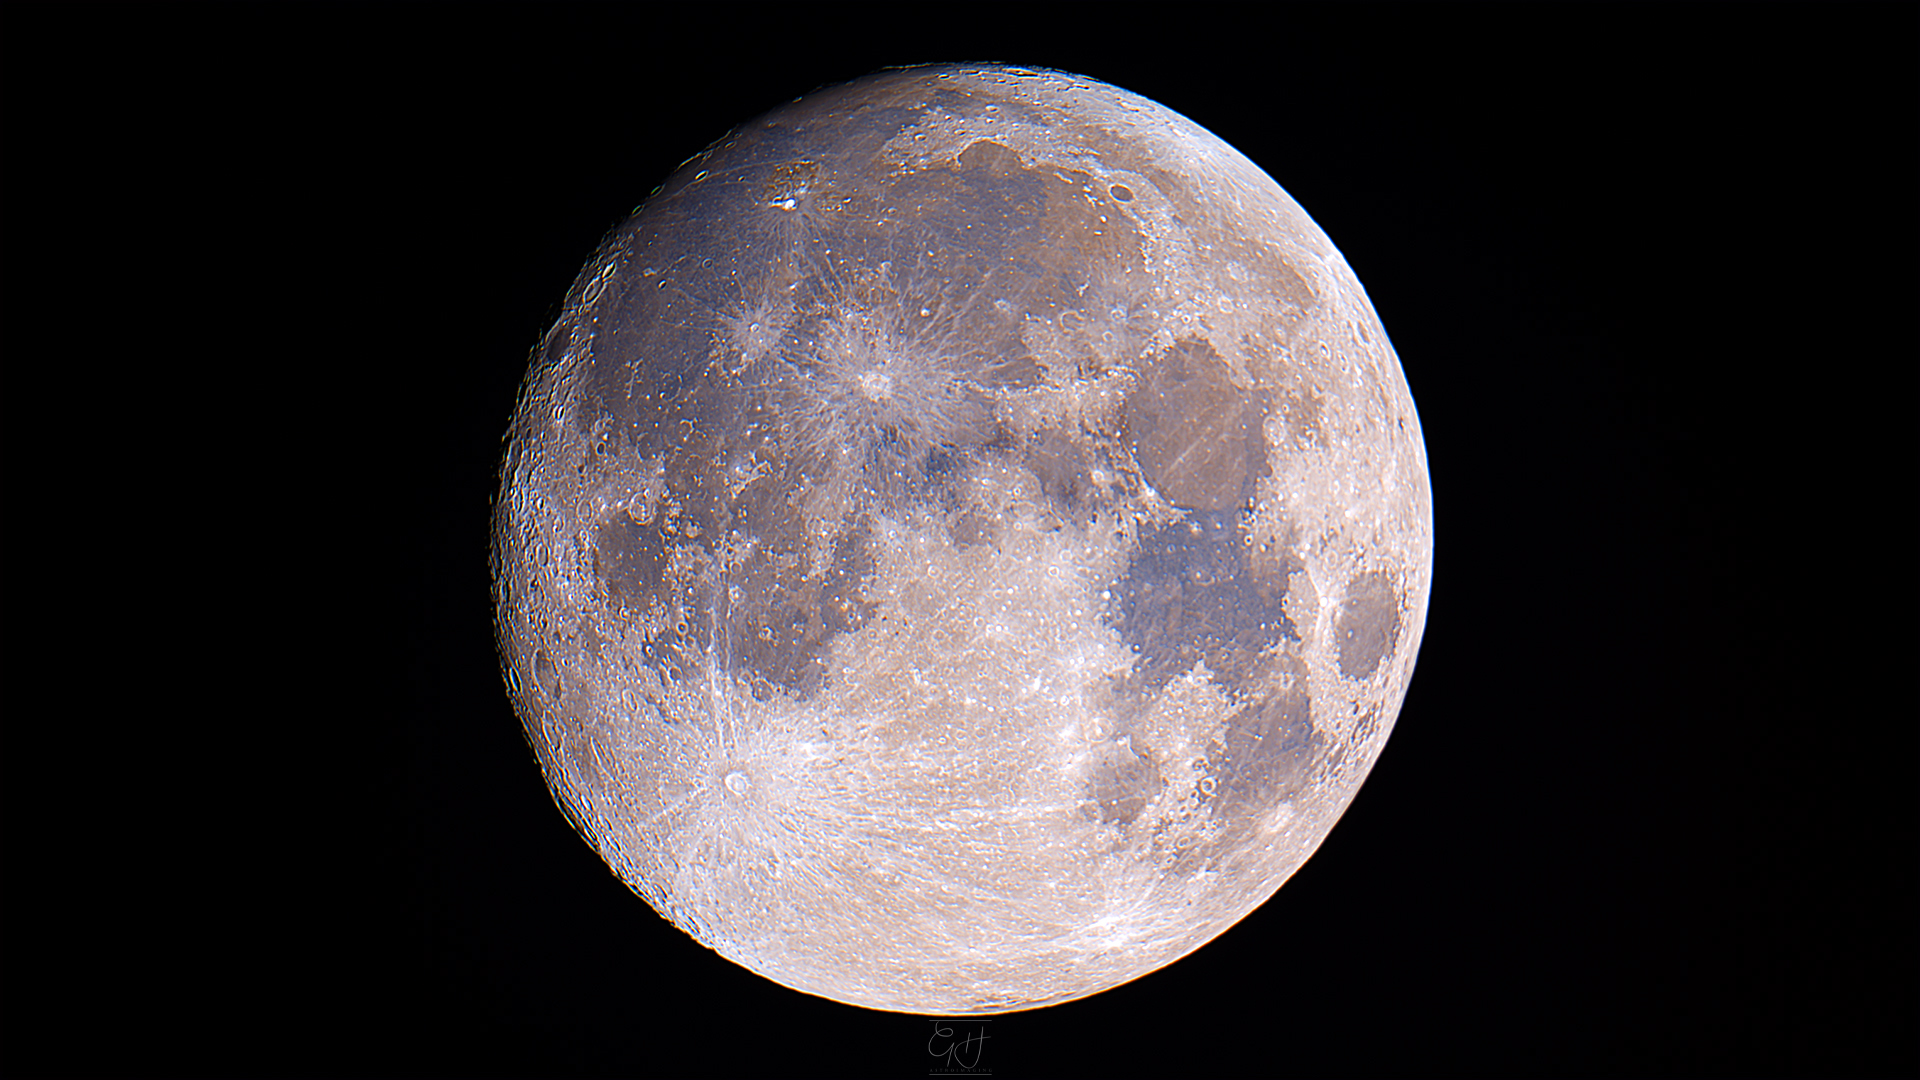

It's not entirely true to say that this image was my first attempt at astrophotography, but it was certainly the first effort that went well enough to make me want to share the result.
I started out thinking the moon was an easy target for a novice astrophotographer since it's really not difficult to find in the sky. The reality is that it's much smaller than you might think and getting a telescope to point in the right direction can be a challenge.
I did obviously eventually succeed in making the scope point at the target, and then spent a considerable time standing outside using an infrared remote trigger for the camera to avoid touching anything and maybe spoiling the alignment I had spent so long trying to get right. The camera in question was an old Canon 350D that I had 'borrowed' from my dad specifically for this purpose (it's still in my possession now) just to see if I could connect it to my telescope at all. I had no real idea of how to do any of this, and I really was just making my best guess as I went along.
I captured 500 shots in total over the course of probably an hour or so, thinking that the difficult part was over. I had read about the concept of stacking images to improve the sharpness, but at this stage I didn't really understand how to do it at all, never mind do it well. Fortunately, the internet is full of excellent tutorials for many areas of astrophotography and I found one in particular (which I now can't remember) that helped me achieve the result you see here, and introduced me to a number of software packages that are truly amazing in what they can achieve.
The first step was to use a program called PIPP (or Planetary Imaging PreProcessor) to take all of the raw shots and adjust them to have the moon in the centre, as well as rank the shots for quality. Next, another program called Autostakkert!2 (which has since been superseded by Autostakkert!3) was used to carry out the stacking process, in which the best 300 out of my total of 500 frames were combined to give a single image file containing the best elements of all the individual shots. The next step was where I really had my first wow moment, with the wizardry of Registax, a program that can somehow take a fairly blurry and indistinct image and perform some mathematical black magic (alternatively known as wavelet sharpening) to produce something that is much sharper and better defined than any of the individual frames on their own. Finally, I took the sharpened image into Adobe Photoshop and made some adjustments to the brightness and contrast, as well as boosting the colour saturation a little to create this image. To be clear, the colours displayed here are not artificial - the moon really does have different coloured areas on its surface due to variations in the mineral content in different locations. The adjustments made in processing simply enhance the differences in a way that makes them visible.
So, there you have it. This is the image that really got me hooked on this hobby. I really enjoyed seeing the reactions of a number of people when they first saw this image, and I thank them all for giving me such positive feedback that has contributed in no small way to my desire to keep working on improving my skills in all areas of astrophotography.
Equipment details:
Mount: Skywatcher HEQ5 Pro
Telescope: Skywatcher Explorer 200P
Camera: Canon EOS 350D
Capture details:
Frames: 300
ISO: 100
Shutter speed: 1/250s


Sign in to enable commenting